Maki Manual
Welcome to Maki! This guide explains how to easily use our ticketing system, from logging in and managing your password to creating and updating tickets. Follow these simple steps to make the most of Maki.
1. Login and password management
This section explains how to log in and reset your password in Maki.
1.1 Access to Maki
As a new user of Maki, you will receive an activation email from us. This email contains a link that will take you directly to Maki’s welcome page. On this page, you will be able to set your personal password, which you can then use to log into Maki at https://app.yourmaki.com.
If the link in the activation email expires before you’ve had the chance to set your password, there’s no need to worry. You can simply reset your password, after which we will send you a new link to complete the process.
1.2 Reset password
To reset your Maki password, follow the steps below:
1. Go to https://app.yourmaki.com
2. Click on the ‘Forgot password?’ link
3. Enter your work email address and press ‘Send’.
After this step, Maki will send you an email to set a new password.
4. In this email, click on the ‘New password’ button.
5. Enter your desired password twice and press ‘Save’.
You will then be directed to the Maki login screen, where you can log in with your work email address and new password.
Tip: If you select ‘Remember me’ in the final screen, Maki will remember your password, so you won’t need to enter it next time.
2. Registering and updating tickets
This section provides instructions and tips on how to use the ticketing feature in Maki.
2.1 Registering a ticket
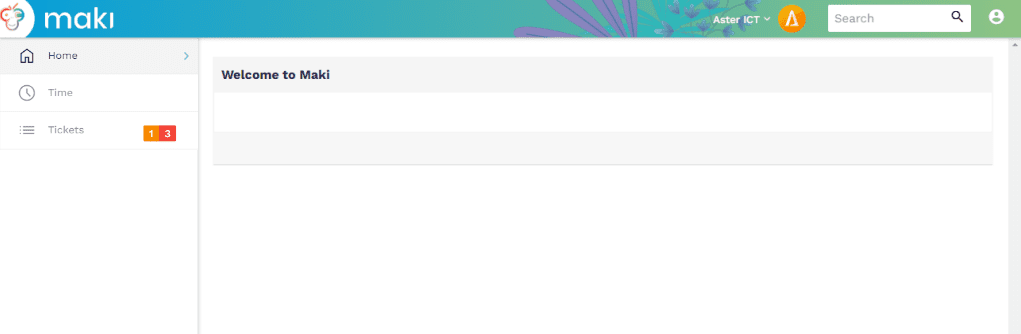
When you log into Maki, you will land directly on the homepage. Click on ‘Tickets’ in the top left corner.
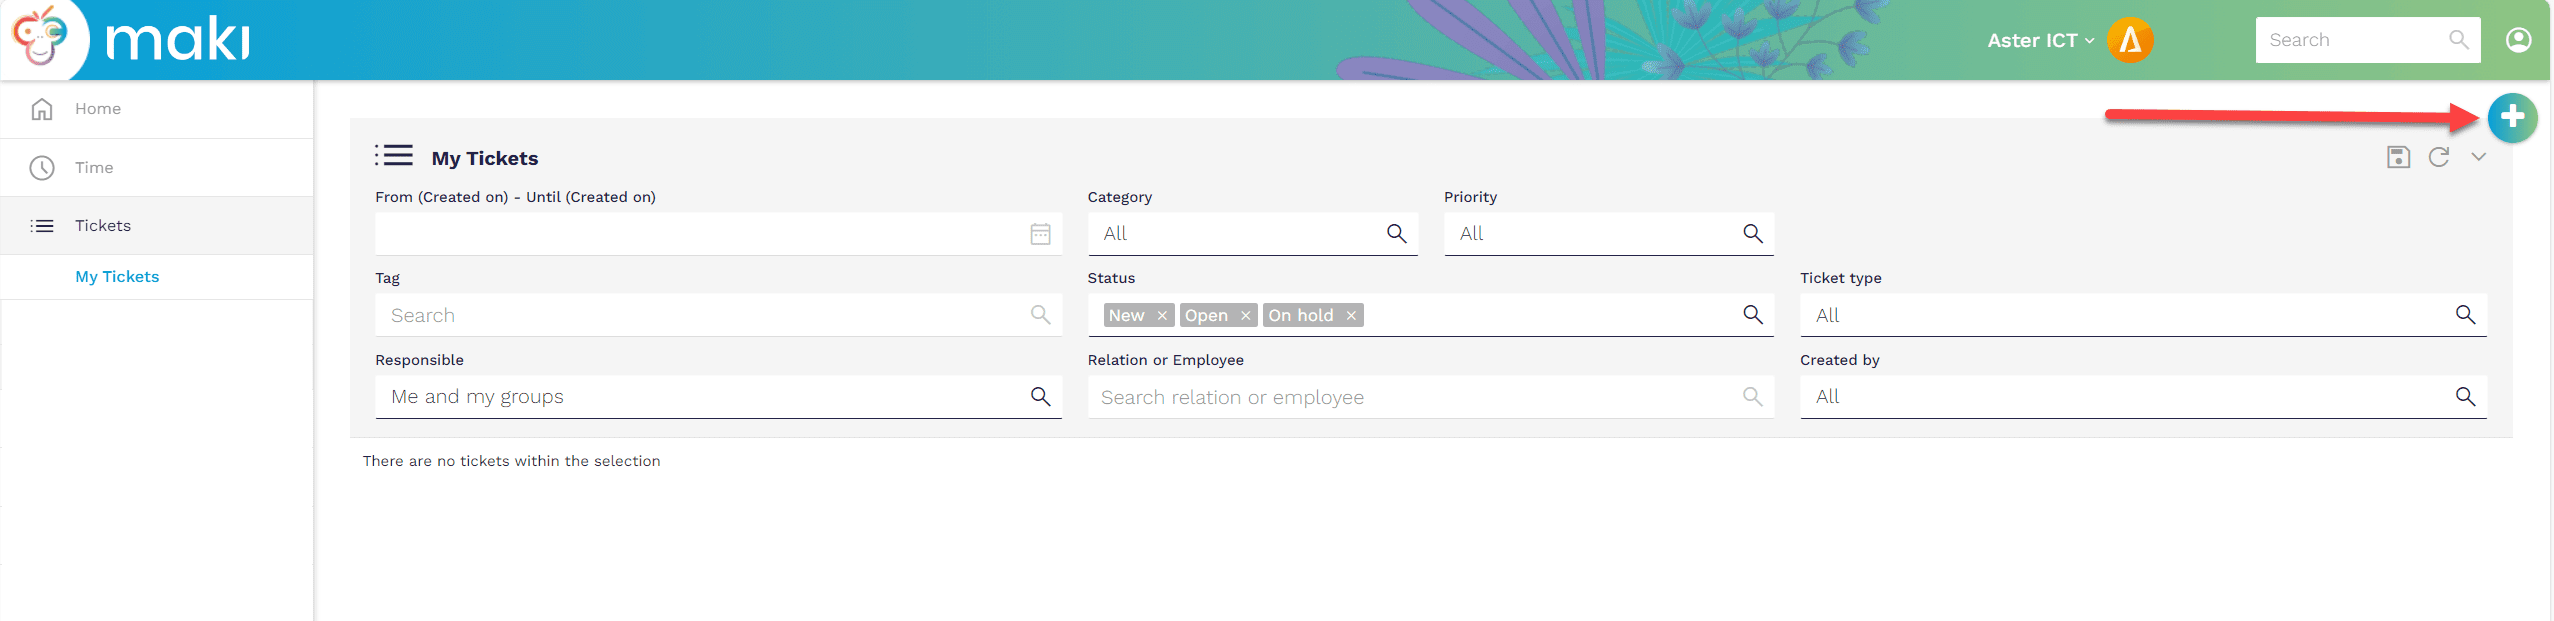
Then, you can click on the plus sign (+) to create your notification. See the image below:
The items that are important to complete are numbered in the image below:
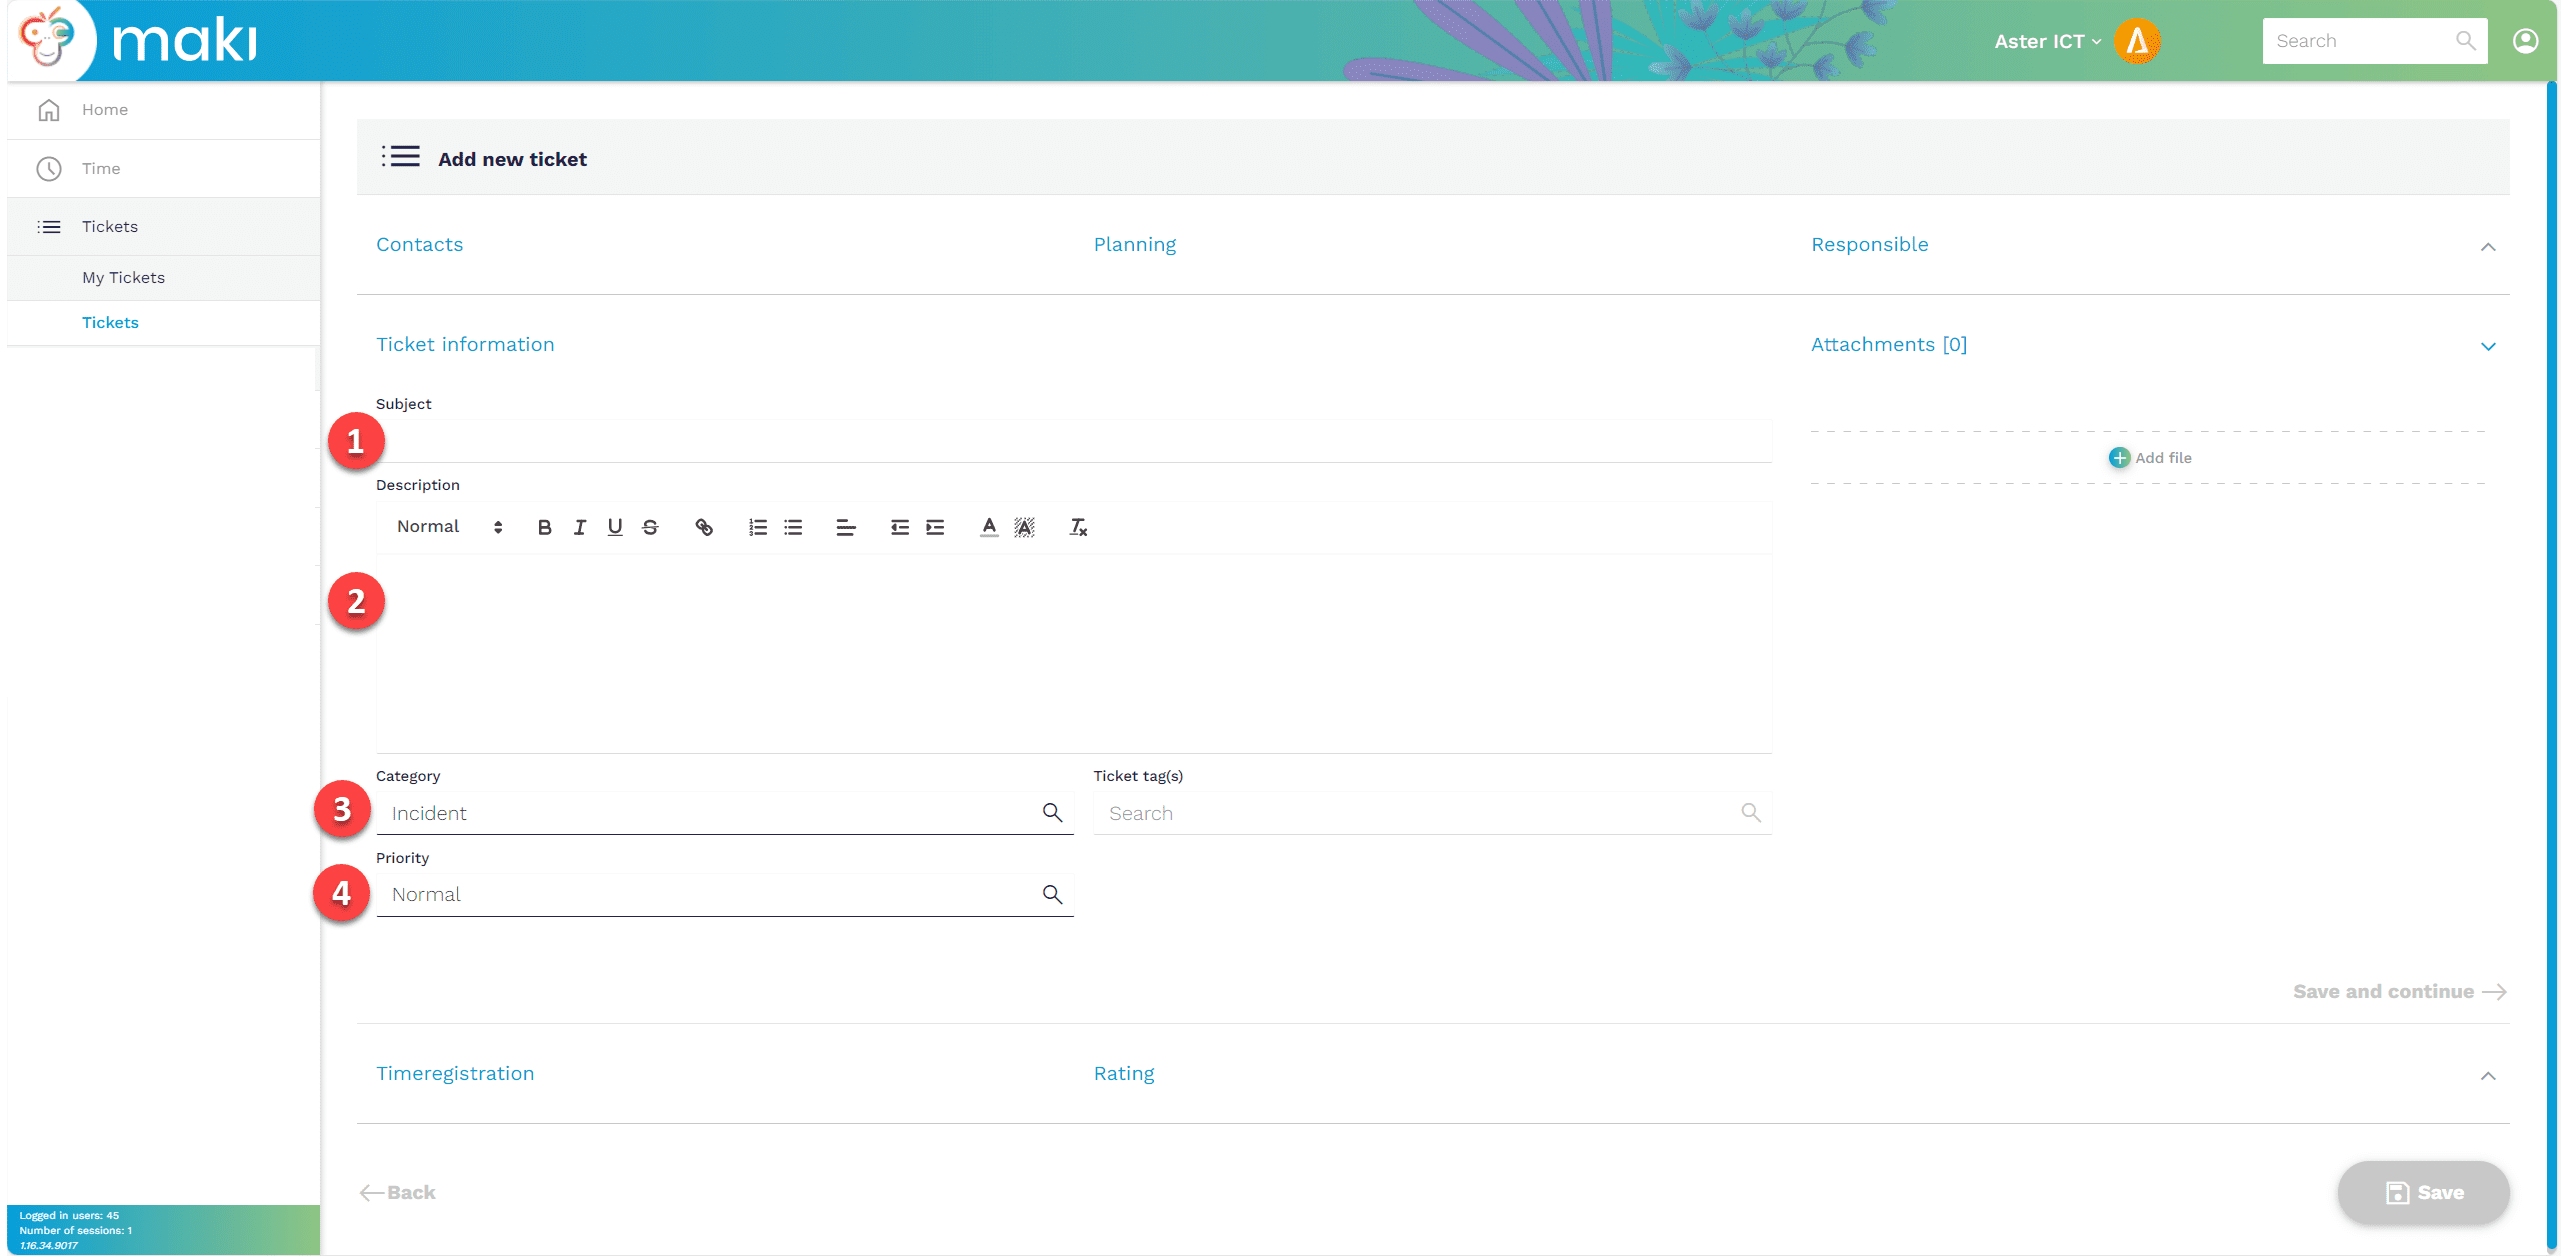
- Here is where you enter the subject of your report.
- This is where you type in as much information as you can about the report you are making.
- Here you choose a category. Not sure what to choose? Just leave it on ‘incident’.
- Here you indicate the priority of your notification.
- Priority Medium applies when the problem needs to be solved relatively quickly, but you can continue working for now.
- Priority High applies when there is a business-critical problem, an important service is down, or you are unable to continue working because of this problem.
- Priority Critical is the highest priority and is usually intended for department heads. This is generally used for large-scale issues that affect many people.
- Priority Normal covers all other problems or requests. Of course, these will also be responded to as quickly as possible.
Please note: If you apply for priority Critical or High, it is important that you remain reachable by phone so we can contact you promptly. We take the quickest action on these tickets. So, make sure to include the phone number where you can be reached in the ticket.
If you press ‘Save’ at the bottom now, the ticket will be saved and we will start working on it.
2.2 Updating a ticket
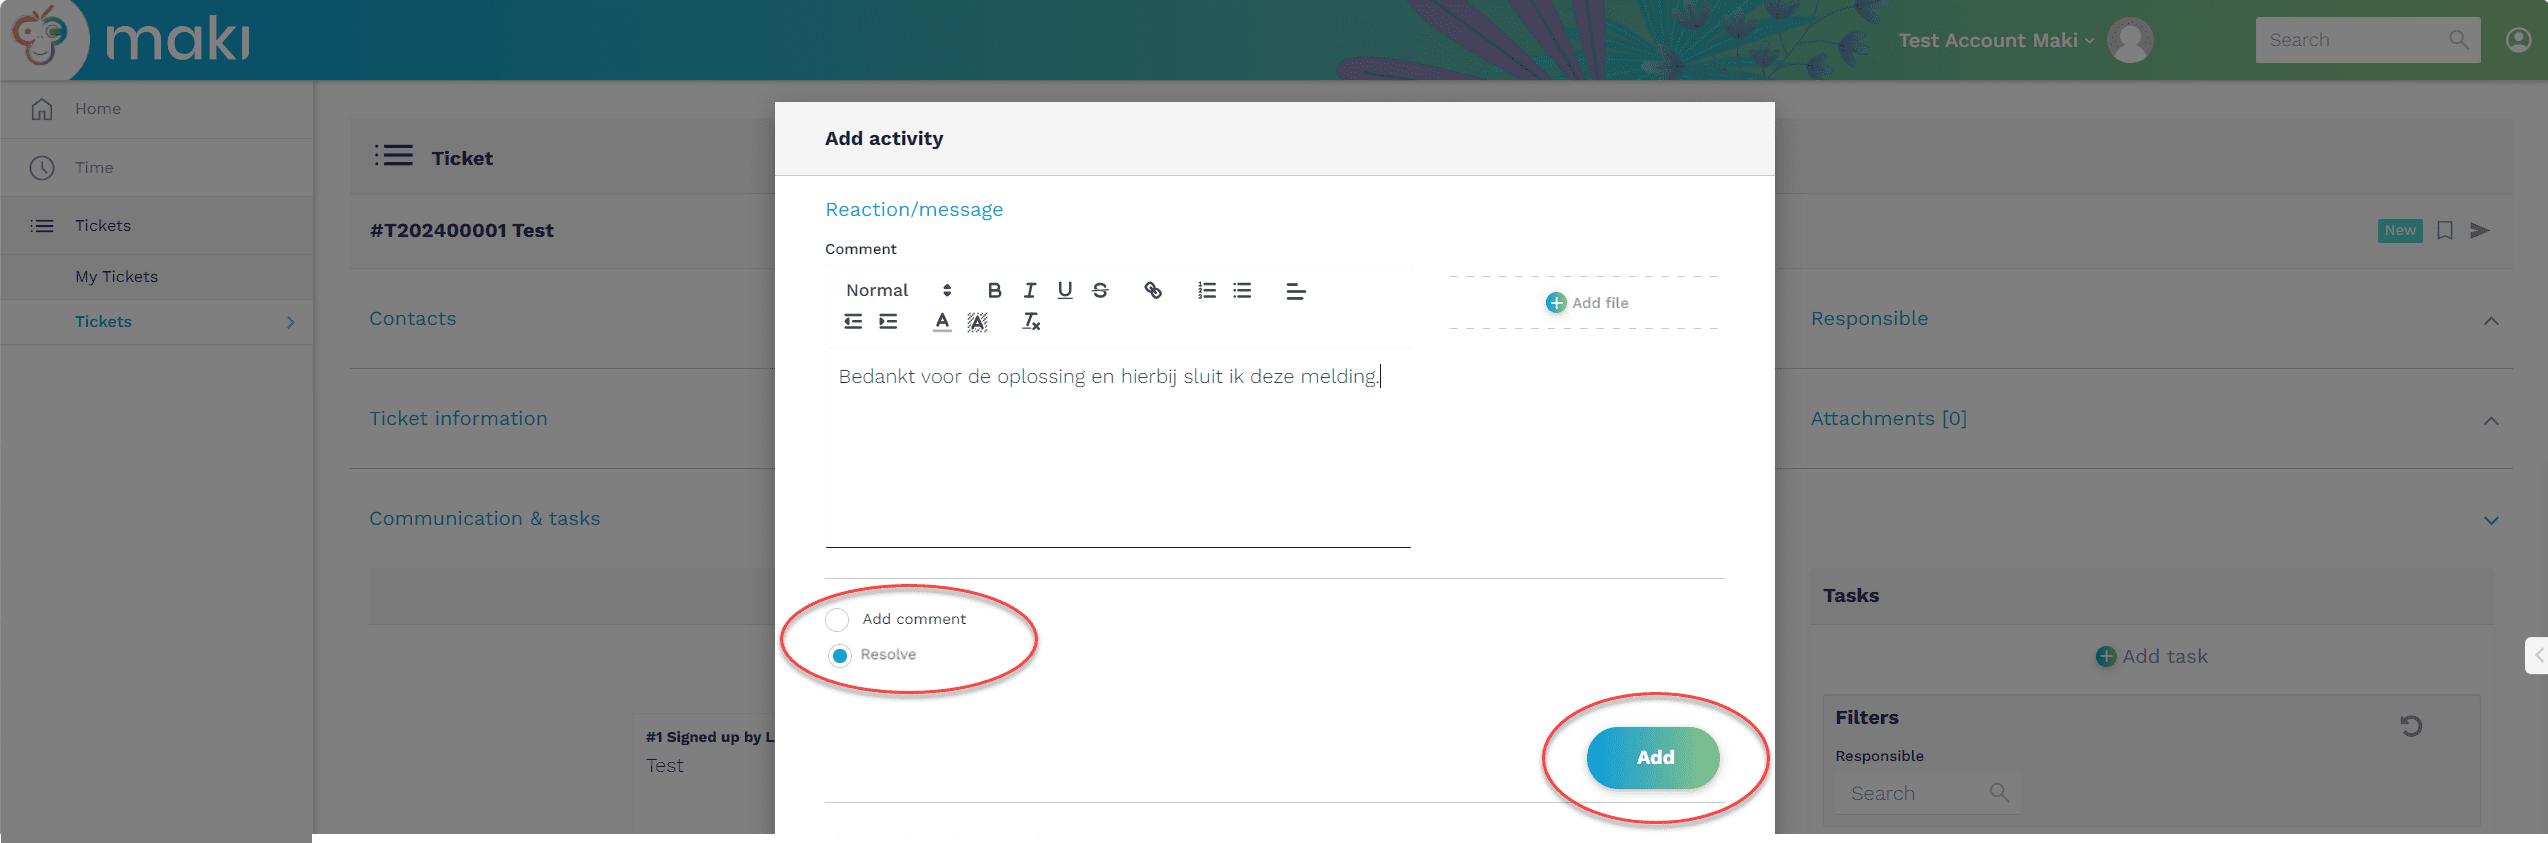
After you create your ticket, you have the option to add your own comments. These comments will appear in the ‘WhatsApp view’ of the ticket. You can add comments by clicking on the ‘Add activity’ plus icon at the top of the ticket.
In addition to ‘Add comment,’ you can also choose ‘Resolve’. Selecting this status indicates that the ticket has been resolved and can be closed.
Questions?
Feel free to contact us. We are available 24/7 at 0172 – 722 333 or via frontoffice@asterict.nl for immediate and personal assistance.